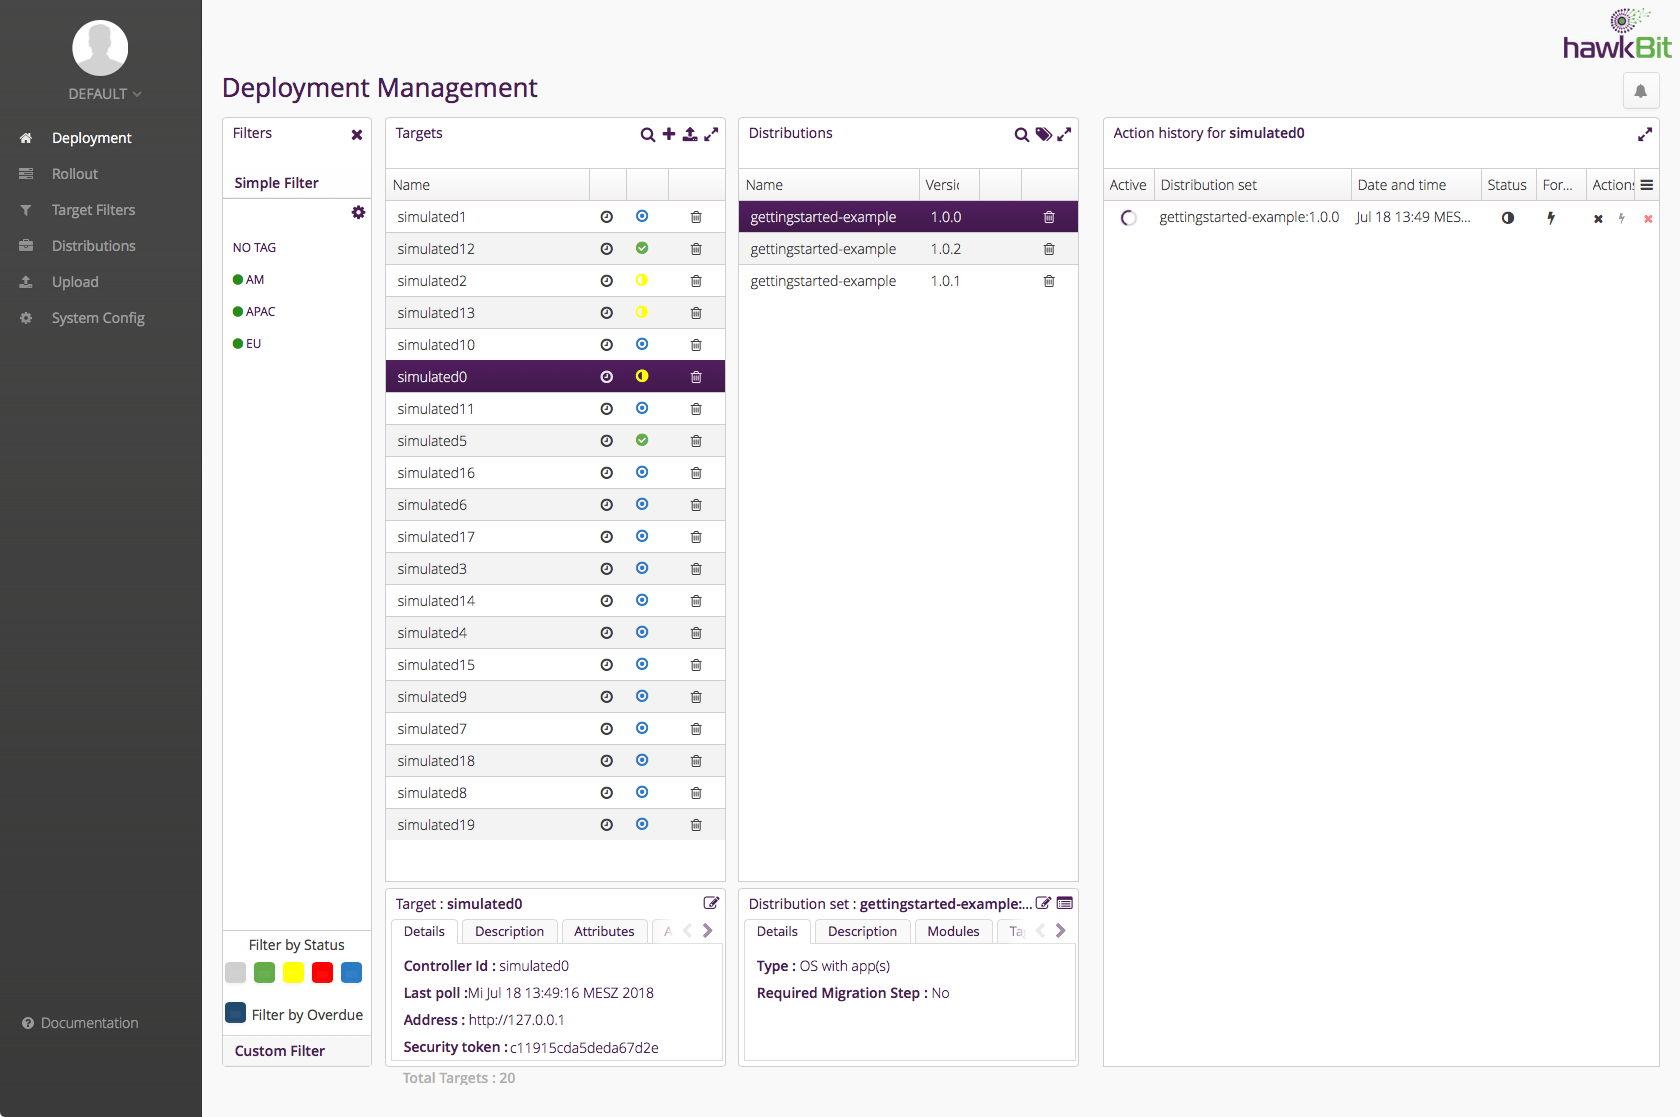
Run hawkBit
In this guide we describe how to run a full featured hawkBit setup based on a production ready infrastructure. It is based on the hawkBit example modules and update server.
The update server can in fact be run stand alone. However, only with an embedded H2, no Device Management Federation API and no artifact storage.
System Architecture
This guide describes a target architecture that is more like one that you will expect in a production system.
- hawkBit Update Server.
- MariaDB for the repository.
- RabbitMQ for DMF communication.
- For testing and demonstration purposes we will also use:
- hawkBit Device Simulator.
- hawkBit Management API example client.
Prerequisites
- You have a working hawkBit core build.
- You have a working hawkBit examples build.
Adapt hawkBit Update Server and Device Simulator to your environment.
As mentioned you can create your own application with hawkBit inside or adapt the existing example app. The second option will be shown here.
Set MariaDB dependency to compile in the update server POM
<dependency>
  <groupId>org.mariadb.jdbc</groupId>
  <artifactId>mariadb-java-client</artifactId>
  <scope>compile</scope>
</dependency>
Configure MariaDB/MySQL connection settings.
For this you can either edit the existing application.properties or create a new profile.
spring.jpa.database=MYSQL
spring.datasource.url=jdbc:mariadb://localhost:3306/YOUR_SCHEMA
spring.datasource.username=YOUR_USER
spring.datasource.password=YOUR_PWD
spring.datasource.driverClassName=org.mariadb.jdbc.Driver
Note: On Ubuntu 18.04 with MariaDB 10.1 installed from the default repository via apt install COLLATE option of database have to be changed manually to “latin1”. For recent versions of MariaDB running on Ubuntu this is not required (cf. system variables, issue)
Configure RabbitMQ connection settings for update server and device simulator (optional).
We provide already defaults that should work with a standard Rabbit installation. Otherwise configure the following in the application.properties of the two services:
spring.rabbitmq.username=guest
spring.rabbitmq.password=guest
spring.rabbitmq.virtualHost=/
spring.rabbitmq.host=localhost
spring.rabbitmq.port=5672
Adapt hostname of example scenario creation script
Should only be necessary if your system does not run on localhost or uses a different port than the example app.
Adapt application.properties in this case:
hawkbit.url=localhost:8080
or provide the parameter on command line:
hawkbit-example-mgmt-simulator-##VERSION##.jar --hawkbit.url=YOUR_HOST:PORT
Compile & Run
Compile & Run your “production ready” app
see update server
Compile & Run example scenario creation script (optional)
This has to be done before the device simulator is started. hawkBit creates the mandatory tenant metadata with first login into either Management UI or API (which is done by this client).
However, this is not done by DMF which is in fact used by the device simulator, i.e. without calling Management API first hawkBit would drop all DMF messages as the tenant is unknown.
Compile & Run device simulator (optional)
see device simulator
Enjoy hawkBit with a real database, artifact storage and all interfaces available
