Installing With Oomph
Setting up an Eclipse to work on the Eclipse Layout Kernel is comparatively easy when using the Oomph Installer. Follow this step-by-step guide for great glory.
-
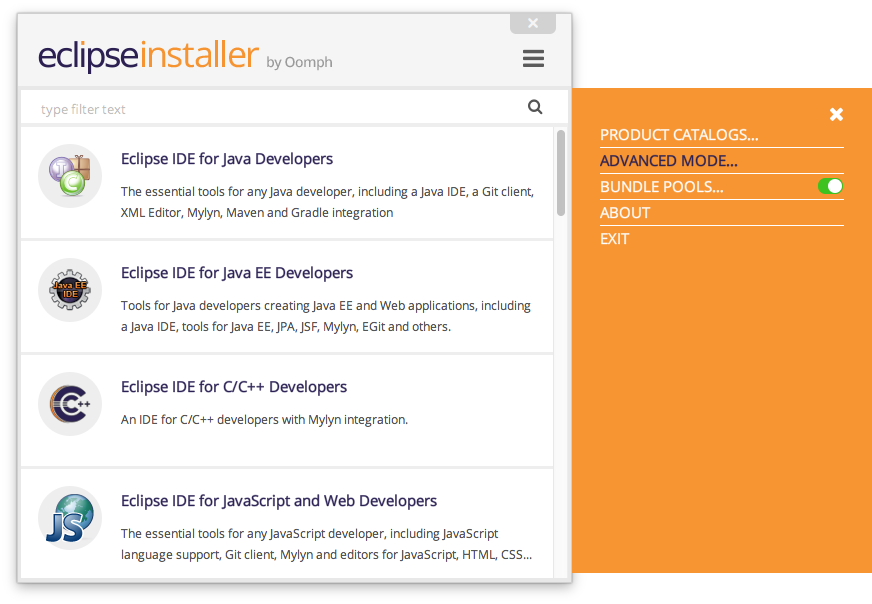
Start the installer. This is what it will look like, more or less:

-
Click on the Hamburger menu (the three stripes at the top right). A menu with additional options will magically appear:
-
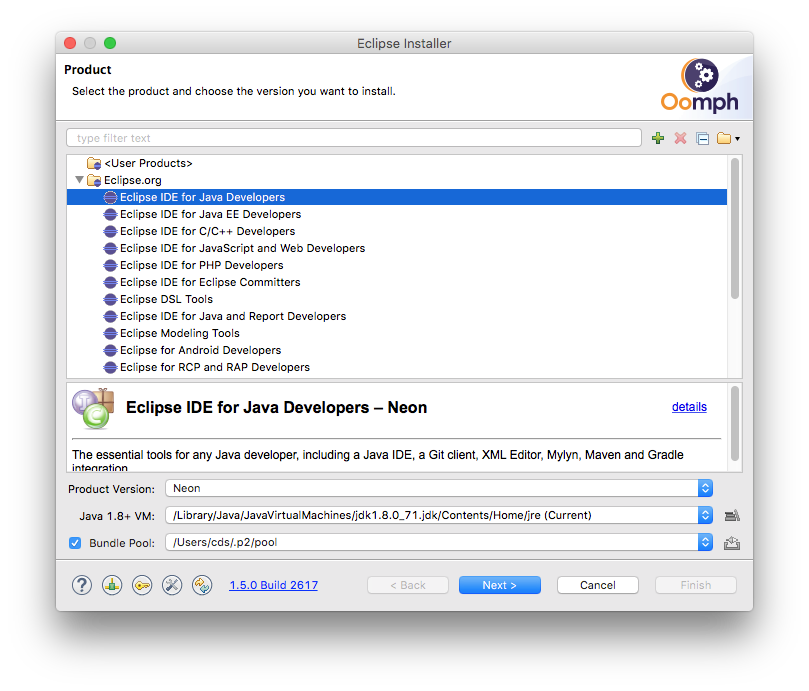
Click the Advanced Mode button (we’re programmers, we don’t want to deal with the simple stuff). Here’s what advanced mode looks like:
-
This page of the installer allows you to choose which basic Eclipse distribution you want to install. The Eclipse Layout Kernel setup will use as the base upon which to add stuff you will need to hack ELK. Simply choosing the Eclipse IDE for Java Developers and clicking Next should work fine. You may want to make sure that you don’t select Latest Release in the Product Version combo box at the bottom, but instead choose the latest release specifically. For example, instead of Latest Release (Neon) select Neon directly. This will keep Oomph from updating your installation and breaking things later on, which quite frankly will spare you the odd nervous breakdown.
Anyway, after clicking the Next button, this is what will appear:

-
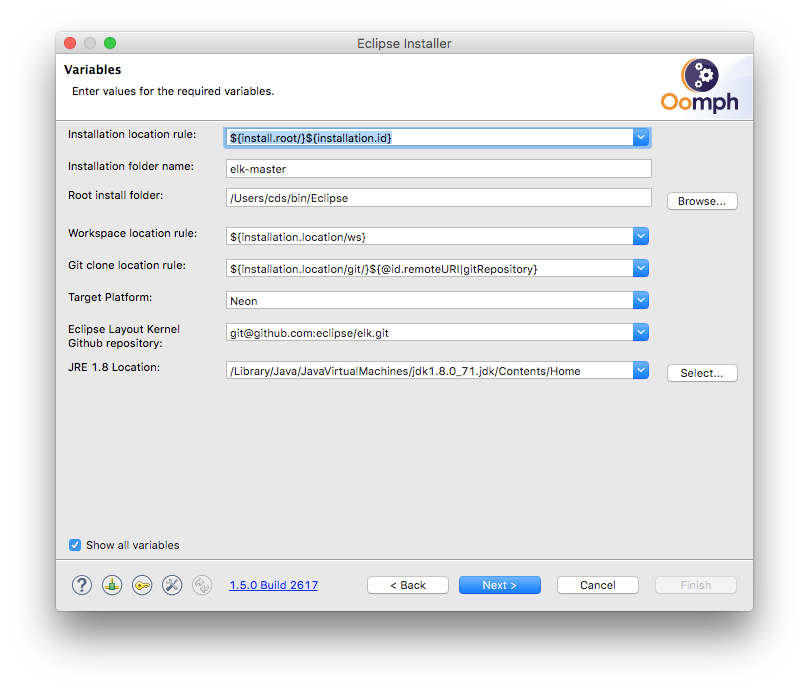
It is now time to choose which project you actually want to work on. Find the Eclipse Layout Kernel item (in the Eclipse Projects category) and select it by clicking its check box to the left. Click Next to see something like this:
-
Make sure everything looks good. You can usually leave the defaults, although you may need to change the Eclipse Layout Kernel Github repository URL to whatever you see when you click on Clone or download on our repository page. Clicking Next will allow you to review what the installer wants to do. Unless you understand what that is, simply ignore it and click Finish.
-
Once the setup has finished the basic installation, your new Eclipse will open and proceed to clone the GitHub repository and to set everything up properly. Once all ELK projects appear in your workspace, you’re set and ready to start developing.